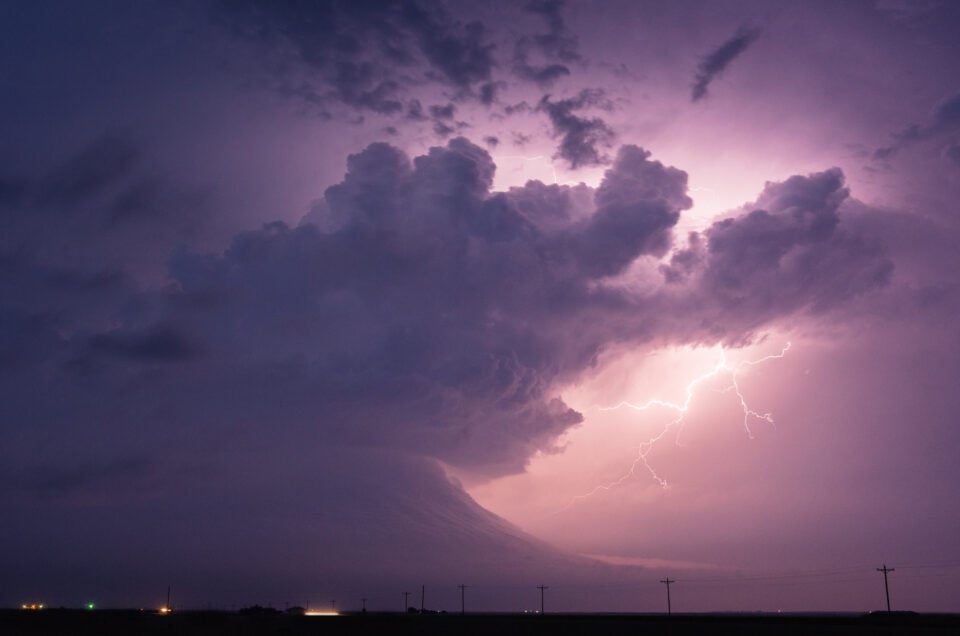
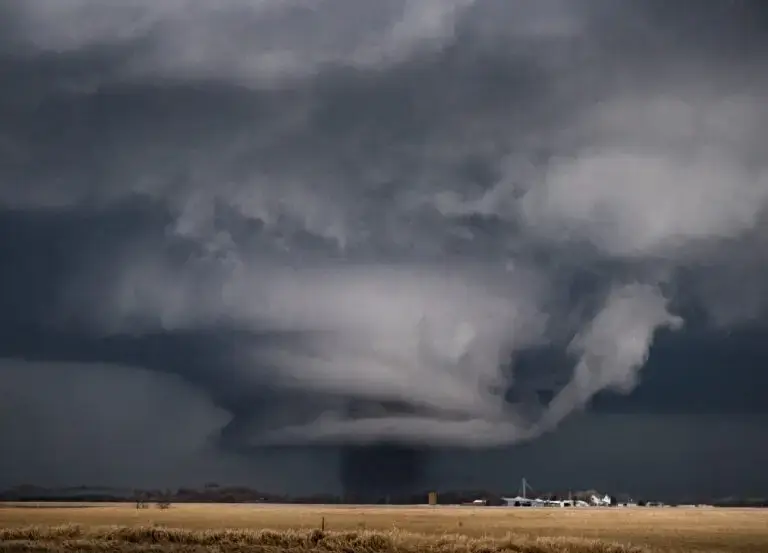
A bolt splits the sky. You gasp. By the time you lift the camera, it is gone. That is lightning photography in a nutshell, part skill, part patience, and a big helping of luck.
The good news? You can stack the odds. Here is how to get ready before you board a storm chasing tour with a camera in your hands.
Gear That Earns Its Space in Your Bag
You do not need a mountain of equipment. A few pieces do most of the work.
- A camera with manual mode, ideally one with a bulb setting
- A sturdy tripod, or a bean bag if you shoot from a vehicle window
- A remote shutter release, wired or wireless, so shaky hands stay out of long exposures
- A wide-angle lens, to catch more sky
- Spare batteries, because storm nights drain them fast
- A soft lens cloth, since rain and cameras are not friends
Some photographers add a lightning trigger, a small gadget that senses a flash and fires the shutter. Handy, but not required. Many guests at Storm Chasing Adventure Tours bring cameras along, and a simple setup works fine.
Camera Settings for Lightning, Step by Step
No single recipe fits every storm. Sky brightness and bolt distance change the game. So treat these as starting points, then tweak as you go.
- Mount the camera on the tripod.
- Turn the mode dial to Manual.
- Switch to manual focus and set the lens to infinity. A camera cannot autofocus on a bolt that lasts a blink.
- Keep ISO low, around 100 or 200.
- Try an aperture near f/5.6 to f/8.
- Pick bulb mode or a timed exposure. Many photographers start somewhere between 10 and 25 seconds.
Here is the funny part. Most of your frames will be nearly black. That is normal. A good bolt acts like a flash, lighting up the whole scene for a moment. You are basically fishing, and the sky is the lake.
Practice at home before the trip. Set the camera up outside after dark, focus on a far away light, and run through every step until your fingers know the order. A chase day is no time to hunt through menus.
If the pictures come out too bright, shorten the exposure or close the aperture a little. If they are too dark, do the opposite.
Timing: Catching the Flash
Settings matter. But timing seals the deal.
Watch the Rhythm
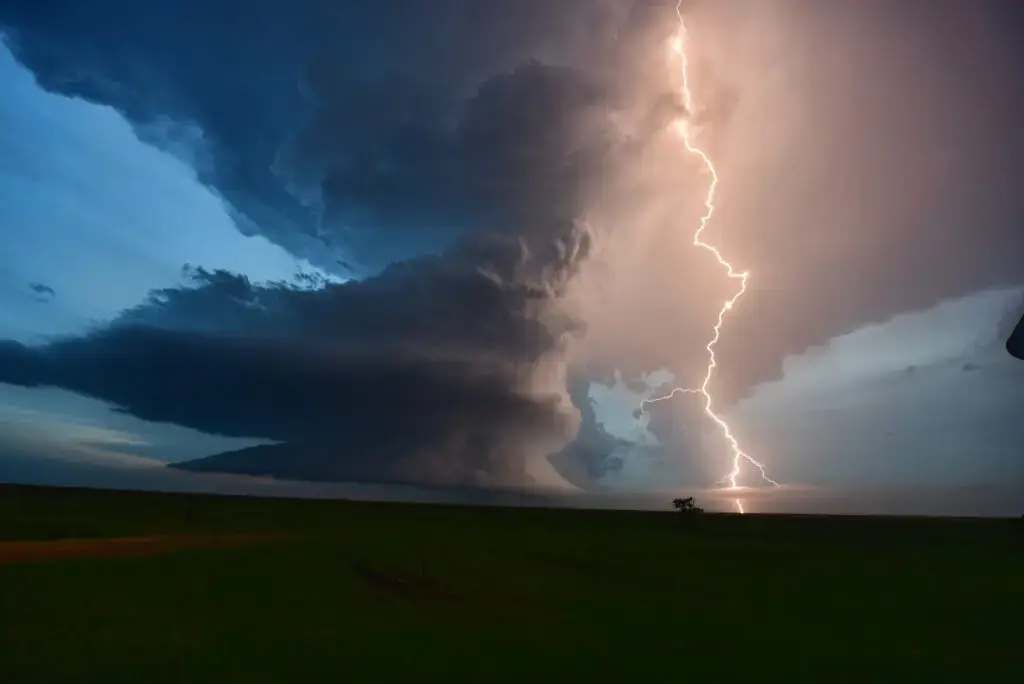
Storms often flash in patterns. Watch for a few minutes. Notice where the bolts keep showing up, aim there, and open the shutter just before you expect the next one. It feels a bit like waiting for popcorn to pop.
Night Beats Daytime
Lightning looks best in dark surroundings. Dusk and nighttime give you the cleanest results, since the bolt stands out against a dark sky. Daytime shots are possible too, but they need extra tweaks to ISO and aperture, so start with the dark.
Frame Before You Shoot
Pick your composition first. A barn, a lone tree, or a long empty road gives the bolt something to play against. Out in Tornado Alley, the wide open plains hand you plenty of sky to work with.
Safety Comes Before Every Shot
No photo is worth getting hurt. The National Weather Service says that if you can hear thunder, you are close enough to be struck. Get into a building or a hard top vehicle, and wait 30 minutes after the last thunder before heading back out.
That is why many great lightning photos are shot from shelter. Storm Chasing Adventure Tours says its guides keep guests in safe positions, so listen to them. When they say it is time to climb back in the vehicle, move fast and keep shooting from inside if you can. It also helps to ask the company ahead of time what camera gear works best on tour.
Conclusion: Patience Pays Off in Light
Great lightning photos come from preparation, a steady tripod, and a little stubbornness. Pack the right gear. Learn the camera settings for lightning before you leave home. Watch the sky’s rhythm, and put safety first every single time.
Do all that, and one stormy evening you might look at your screen and grin. Because there it is. The bolt you almost missed, caught at last. If you are ready to chase that shot, Storm Chasing Adventure Tours can put you under the sky when it counts.